Many coverage problems start with location, not hardware. A capable router tucked into a basement corner, hidden inside a metal cabinet, or pushed against an exterior wall will leave parts of the house underserved. Moving the same router to a better spot often improves signal more than upgrading to a newer model.
I have seen this pattern repeatedly in family homes. Parents assume they need mesh or a stronger unit when the existing router is simply poorly placed. A thirty-minute relocation and retest frequently solves the most noticeable dead zones and delays or eliminates the need for extra equipment.
This guide covers the practical placement principles that work in typical American two-story and single-story homes. The advice is based on real houses, not laboratory diagrams. The goal is better coverage with the gear you already own.
Why Placement Outweighs Peak Specifications
WiFi signals weaken with distance and struggle through dense materials. Every wall, floor, large appliance, and piece of metal reduces strength. A router placed at one end of the house must push its signal the entire length and through multiple barriers to reach the far rooms. Centering the router shortens the average distance and reduces the number of obstacles.
Height also matters. Signals spread more evenly when the router sits above the furniture level rather than on the floor. A shelf or high table is usually better than a low cabinet.
Interference is the third factor. Microwaves, cordless phones, baby monitors, and neighboring networks can all degrade performance. Placing the router away from these sources gives the signal a cleaner starting point.
These three variables—centrality, height, and distance from interference—explain why two identical routers can perform very differently in the same house.
Ideal Placement Principles for Family Homes
1. Aim for the geographic center of the area you care about
Identify the rooms that need reliable coverage most: bedrooms, home offices, living areas, and frequently used outdoor spaces. Place the router as close as practical to the center of that combined zone.
In a two-story home the best compromise is often a central location on the main floor. Signals travel downward through floors somewhat better than upward in many constructions, but the difference is not absolute. Test both main-floor and second-floor central spots if possible.
2. Elevate the router
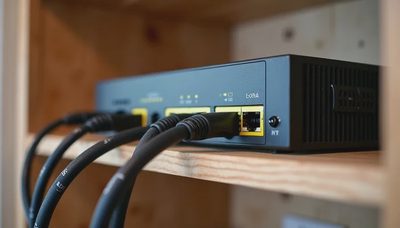
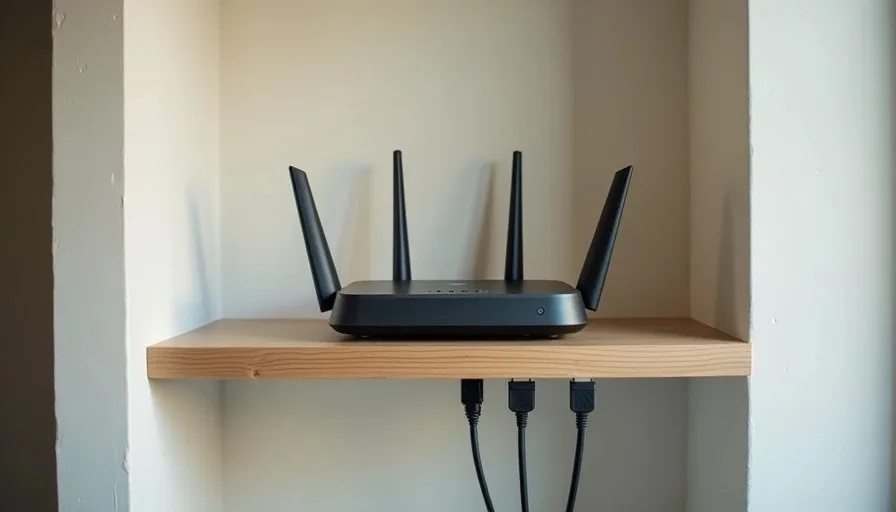
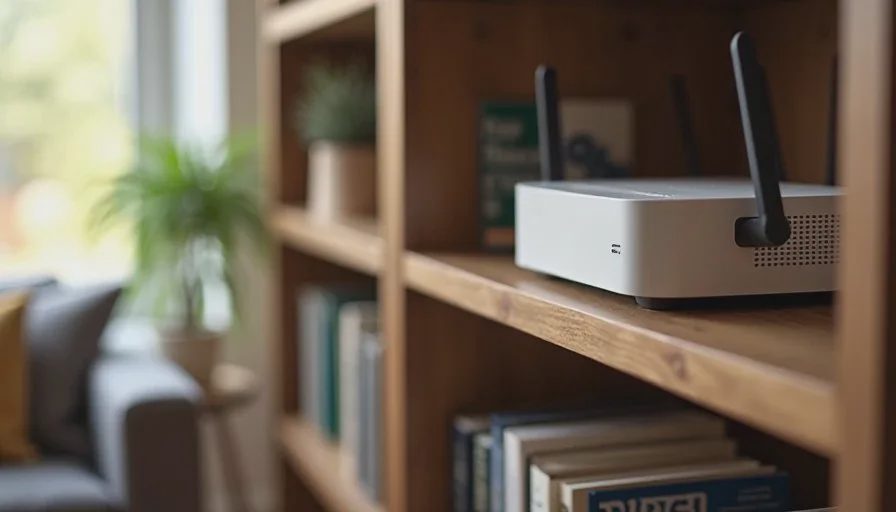
Keep the unit at least three to five feet off the floor. A bookshelf, closet shelf, or high table works well. Avoid the floor, the bottom of a media cabinet, and any fully enclosed space.
Vertical clearance helps the signal spread across the floor plan before it has to penetrate walls.
3. Maintain line-of-sight where possible and minimize dense obstacles
Every interior wall reduces signal. Thick plaster, brick, stone, and large mirrors are especially costly. If you can place the router so that the most important rooms have fewer walls between them and the unit, coverage improves.
Large aquariums, metal filing cabinets, and refrigerators should not sit directly between the router and key living areas.
4. Stay away from interference sources
Keep at least several feet between the router and microwave ovens, cordless phone bases, baby monitors, and Bluetooth hubs. Even a short distance can reduce conflict on the 2.4 GHz band.
5. Consider heat and ventilation
Routers generate heat. Enclosed cabinets without airflow can cause throttling or shortened lifespan. An open shelf or a closet with good air circulation is preferable to a sealed media console.
Common Placement Mistakes
Several patterns appear again and again in the homes I visit:
Router left in the basement near the incoming cable or fiber jack. Convenient for the installer, poor for the living spaces above.
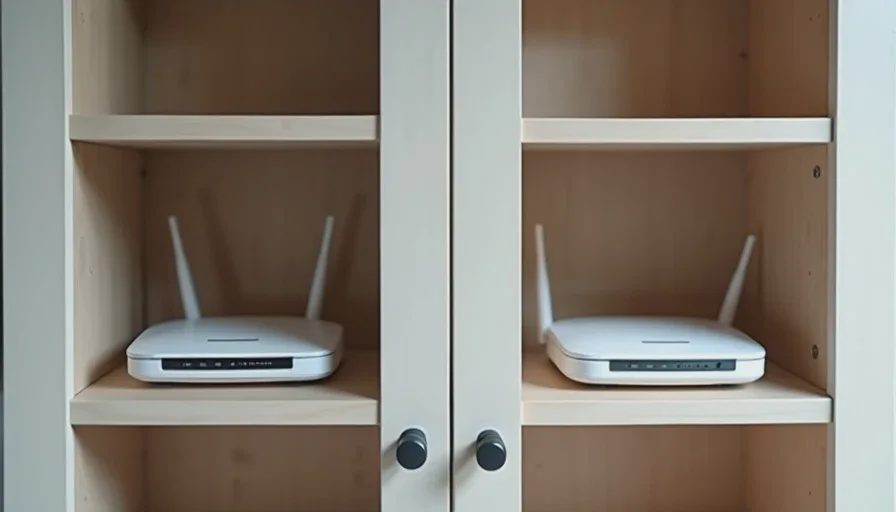
Router inside a metal or glass cabinet for aesthetic reasons. The enclosure blocks signal.
Router pushed into a corner or against an exterior wall. Half the signal radiates outside the house.
Router on the floor behind a couch or television. Height and obstacles both work against it.
Router next to a frequently used microwave. Intermittent interference appears during cooking times.
Each of these is fixable without new hardware. The improvement is often immediate once the unit is moved.
A Practical Relocation Process
Here is a simple sequence any family can follow in one evening:
Note the current router location and take a quick signal reading in the weakest rooms (using a free WiFi analyzer app).
Identify two or three candidate spots that better match the principles above and are still reachable by the modem cable or a short Ethernet run.
Move the router to the first candidate spot. Power it on and wait two minutes for it to stabilize.
Retest the previously weak rooms. Record the new readings.
Try the second candidate if the first is only a partial improvement.
Choose the location that delivers the best balance of coverage across the rooms that matter most.
If the modem and router must stay near the utility entry point, consider a short Ethernet run to a more central access point or a mesh node. Extending the cable is often cheaper and more reliable than accepting a permanently compromised location.
Special Cases
Apartments and condos
Central placement is still ideal, but neighboring networks add interference. Elevating the router and choosing less congested channels (many modern routers do this automatically) helps.
Homes with thick plaster or brick walls
Expect more signal loss per wall. Central placement becomes even more important, and additional access points may still be needed.
Households that use the backyard heavily
Place the router or an additional node closer to the exterior wall that faces the outdoor space. A single indoor unit rarely covers a large patio well from the opposite side of the house.
Rental properties
Use existing cable paths and avoid permanent modifications. A good shelf location and a simple Ethernet extension often deliver most of the benefit.
When Placement Alone Is Not Enough
Even optimal placement has limits. Very large homes, multi-building properties, or constructions with unusual materials may still need additional access points or a mesh system. The placement exercise remains valuable because it shows exactly where the remaining gaps are and prevents over-buying.
If after a careful relocation the same rooms remain weak, you now have clear data to guide the next step instead of guessing.
What We Did in Our House
Our modem arrives in a utility closet near one end of the main floor. Leaving the router there produced weak upstairs coverage and almost no patio signal. We ran a short Ethernet cable to a central closet on the main floor and placed the router on a high shelf. The change improved every upstairs bedroom and made the patio usable for light work. A single wired access point later handled the last remaining corner.
The entire improvement began with moving the primary unit. No new standard or expensive hardware was required for the first large gain.
Router placement is one of the highest-leverage, lowest-cost actions available to any household. Before shopping for mesh systems or newer routers, spend an evening testing better locations. The signal map that results will either solve the problem or tell you exactly what additional equipment is justified.
Stability First.