
For a long time the upstairs of our house had a predictable problem. The main floor and the rooms near the router felt fine. The far bedrooms and the home-office nook on the second floor did not. Video calls froze. Tablets dropped offline. Streaming required moving closer to the stairs. We tried the usual free fixes first. When those reached their limit, the solution that finally worked cost less than most people expect to spend on a network problem.
This is the story of that upgrade: what the symptoms looked like, what we ruled out, the inexpensive change we made, and how the upstairs has behaved since. The goal is not to claim that the same fix will work in every house. The goal is to show how a measured, low-cost approach solved a real coverage gap without jumping straight to a full mesh system.
What the Upstairs Problem Actually Looked Like
Our house is a typical two-story suburban home. The primary router sits in a central location on the main floor. Downstairs coverage has been solid for years. Upstairs, the landing and the bedrooms closest to the stairwell were usable. The two rooms at the far end of the hall were not.
Signal readings in those rooms sat in the weak range. Speed tests completed but with high variability. The most noticeable failures happened during ordinary family use: a video call for work, a child streaming a show, or a tablet trying to stay connected during homework. The connection would hold for a while and then stutter or drop. Moving a few steps toward the stairs usually restored it. That pattern pointed to distance and building materials rather than a complete radio failure.

What We Tried Before Spending Money
Before buying anything we ran through the free and low-effort options.
Router placement
We already had the router in a relatively central, elevated spot on the main floor. Moving it a few feet in different directions produced only marginal changes upstairs. The floor and the layout were the limiting factors.
Channel and band adjustments
We experimented with different channels and forced some devices onto 5 GHz or 2.4 GHz. A few devices behaved slightly better; the far rooms remained unreliable.
Client-side checks
We tested with multiple phones, tablets, and a laptop to rule out a single defective device. The weak performance followed the location, not the client.
Interference check
We looked for obvious sources (cordless phones, poorly shielded electronics) near the router and upstairs. Nothing stood out as a primary cause.
At that point it was clear that the signal simply did not reach the far upstairs rooms with enough strength or consistency for daily use. Something needed to be added on the second floor.
The Upgrade We Chose
Instead of replacing the entire network with a mesh system, we added a single access point on the upstairs hallway and connected it to the main router with an Ethernet cable.
The access point itself was an inexpensive, well-reviewed unit capable of modern Wi-Fi standards. The larger cost consideration was the cable run. In our case a simple path existed through a closet and the basement, so the wiring job stayed modest. Total cost for the access point and the cable materials was far lower than a multi-node mesh kit.
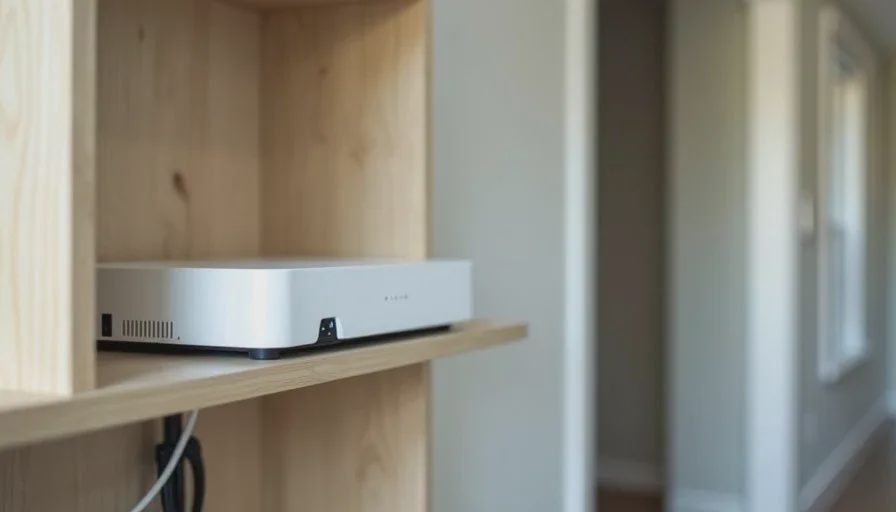
Installation took a couple of hours on a weekend: mounting the access point high on a hallway shelf, running and terminating the cable, and configuring the new unit to match the existing network name and security settings so devices could roam without manual switching.
What Changed After the Upgrade
The difference was immediate and stable.
Signal strength in the previously weak rooms rose into a comfortable range. Speed tests became consistent. Video calls from the far bedroom no longer required sitting near the door. The kids’ tablets stayed connected during homework without the previous mid-session drops.
Because the access point was wired, it did not depend on wireless backhaul. Performance stayed steady even when the main floor was busy with other traffic. Roaming between the main router and the upstairs unit worked well enough for ordinary movement through the house; occasional sticky-client behavior was minor and rare.
We have now lived with this arrangement for an extended period. The upstairs has remained reliable through school terms, work-from-home stretches, and ordinary evening use. Maintenance has been minimal: an occasional firmware check and the usual router-level updates.
Why This Was Cheaper and Simpler Than the Alternatives
A full mesh system would have solved the coverage problem and would have been easier to install in a house with no Ethernet runs. It would also have cost more and added two or three additional devices to power, update, and occasionally troubleshoot.
A single high-end router replacement without an upstairs access point would have improved the main floor further but still would have left the far second-floor rooms dependent on signal penetration through the floor and walls.
The wired access point approached the problem directly: put a radio where the coverage was missing and give it a clean, high-capacity connection back to the main router. For our layout that was the smallest change that produced a complete fix.
Lessons That Apply Beyond Our House
A few practical takeaways emerged from the process.
Measure before you buy
Walking the house with a signal app and noting the exact weak rooms prevents over-purchasing. In our case the problem was localized, so a localized solution was enough.
Wired backhaul is worth the effort when it is feasible
If a reasonable cable path exists, a single wired access point often delivers more consistent performance than a wireless mesh node in the same location.
Match the solution to the size of the problem
Whole-home mesh is a good tool when coverage gaps are widespread. When the gaps are limited to one floor or one wing, a targeted access point is usually more economical and easier to manage.
Keep the network name consistent
Configuring the new access point to use the same SSID and password as the main router allows devices to move between floors without manual network switching.
Test under real load
After installation we deliberately ran video calls and streaming in the previously weak rooms while other devices were active downstairs. Lab signal readings are useful; real-use testing confirms the fix.
When a Different Approach Makes Sense
This solution worked because we had a usable path for Ethernet and because the weak area was concentrated upstairs. In a house where cable runs are impractical, a mesh node placed in the same hallway location would be the next best option. In a larger or more divided home, multiple access points or a mesh system might still be justified. The key is letting the measured coverage map, not the marketing categories, drive the decision.
A Quieter Upstairs
The best network upgrades are the ones you stop noticing. For months after we added the upstairs access point, the far bedrooms simply worked. No one had to move to the landing for a stable call. No one had to restart a tablet mid-homework. The problem that had been a low-level daily friction disappeared.
That outcome did not require the newest standard or the most expensive system. It required identifying the actual gap, choosing the smallest reliable way to fill it, and verifying the result under ordinary family use. In our house the cheapest upgrade that fixed the upstairs Wi-Fi was also the most effective one.
Stability First.