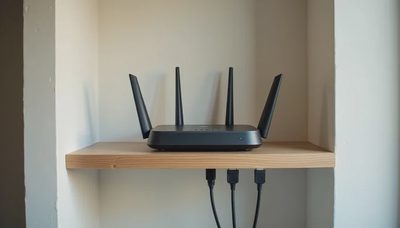
Most people start shopping for mesh systems or stronger routers the moment the upstairs bedroom loses connection. That approach often leads to extra expense and new problems. The smarter first step is to map the actual dead zones in your house before you spend a dollar.
A WiFi dead zone is any spot where the signal becomes too weak or unstable for normal use. In a typical American two-story home that can mean the far corner of a kid’s bedroom, the backyard patio, the basement laundry room, or even the garage. Finding those spots first gives you clear data. It tells you whether a simple router move will help, whether one extra access point is enough, or whether a full mesh system is actually justified.
I run this process in my own Rochester house every time we rearrange furniture or add a new device. It takes about an hour on a weekend evening and requires nothing more than the phones and tablets already in the house. Here is the exact method I use and recommend to families.
Why Mapping Beats Guessing
Buying gear without a map is like replacing the water heater because the kitchen sink runs slow. The problem may be elsewhere.
In one family I helped, the parents were ready to buy a three-node mesh kit because the upstairs hallway felt unreliable. After we walked the house with a simple signal test, the real weak spots turned out to be only two rooms. Moving the existing router six feet and adding one inexpensive wired access point fixed both rooms. They kept the money they were about to spend and avoided another set of devices to manage.
The goal of the mapping process is not perfection. It is clarity. You want to know three things:
Where the signal is consistently usable
Where it drops below useful levels
Whether the problem is coverage, interference, or something else
Once you have those answers, buying decisions become much simpler.

What You Need for a Basic Dead-Zone Map
You do not need professional tools. Most families already own everything required.
At least two smartphones or tablets (one for the person walking, one left near the router as a control)
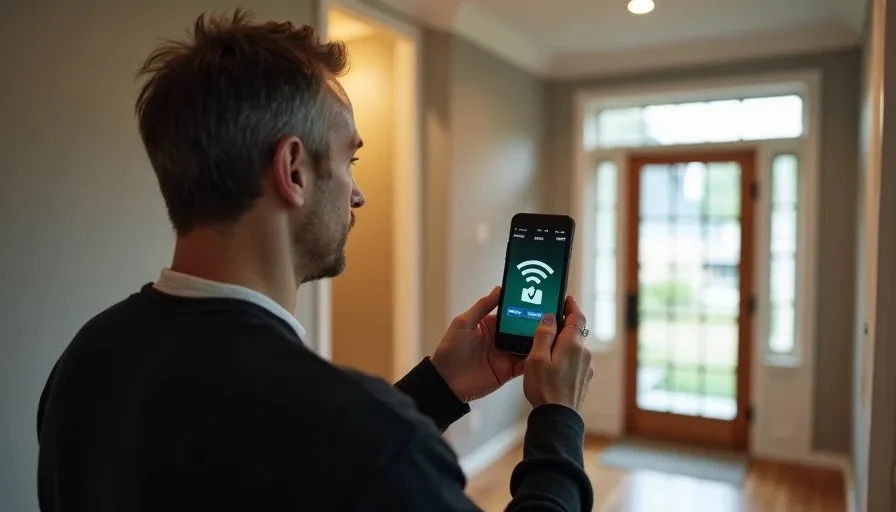
A free WiFi analyzer app (many solid options exist for both iOS and Android)
A simple notebook or notes app
Thirty to sixty minutes when the house is relatively quiet
Optional but helpful: a laptop for a second opinion on speed tests, and a long Ethernet cable if you want to test wired performance later.
Step-by-Step: How to Walk Your House
1. Establish a baseline at the router
Stand next to your main router or gateway. Open the WiFi analyzer app and note the signal strength (usually shown in dBm). Also run a quick speed test. Write down both numbers. This is your reference point. Everything else will be compared to it.
A reading around –30 to –50 dBm near the router is typical and healthy. Once you move away, the number will climb toward –70 or higher, which is weaker.
2. Create a simple floor plan
Sketch a rough outline of each floor on paper or in a notes app. Mark the router location. You do not need architectural accuracy—just enough detail to remember which room is which.
3. Walk every regularly used space
Start on the same floor as the router. Move slowly through each room, pausing in the spots where people actually sit or stand: the couch, the desk, the bed, the kitchen counter. At each pause, record:
Approximate signal strength
Whether a speed test completes successfully
Any noticeable lag or dropouts while streaming a short video or loading a page
Then move to the next floor and repeat. Do not forget transitional spaces such as hallways and stair landings—they often reveal where the signal collapses.
4. Test the outdoor areas you actually use
If you use the patio, deck, or backyard for work calls or kids’ tablets, include those spots. Outdoor coverage is usually weaker and more variable, so note the weather and time of day as well.
5. Repeat at different times if possible
WiFi performance can change when more devices are active or when neighbors’ networks are busier. If you can, run a shorter version of the walk in the evening when the household is online. Large differences between daytime and evening readings often point to congestion rather than pure distance.
How to Read the Results
Once the walk is finished, look for patterns instead of isolated bad numbers.
A single room that is consistently weak while neighboring rooms are fine often points to a wall, mirror, or large appliance blocking the signal.
An entire floor that is weaker usually means the router placement is too low or too far to one side of the house.
Outdoor spots that drop sharply right outside the door may simply need a better exterior-facing antenna or a dedicated outdoor access point later.
If signal strength looks acceptable but speeds are still poor, interference or an overloaded channel is more likely than pure distance.
I keep a running note of these patterns in my own house. The far corner of Miles’s room is still our weakest indoor spot. The backyard table is usable for email but not for video calls. Those two facts alone have guided every network change we have made in the last three years.

Common Mistakes That Waste Money
Several habits lead families to buy gear they do not need.
Testing only with the phone in your hand while standing in the middle of the room. Real use happens on the couch, in bed, or at the kitchen island. Test where the devices actually live.
Assuming the newest WiFi standard will fix coverage. A WiFi 7 router in a poor location will still leave dead zones. Placement and number of access points usually matter more than the generation number.
Buying a full mesh system because one room is weak. One extra access point, especially if it can be wired, often solves the problem with less complexity and lower long-term maintenance.
Ignoring the possibility of interference. Microwave ovens, baby monitors, and neighboring networks can create temporary dead zones that look like coverage problems. A second test at a different time of day helps separate the two.
What to Do After You Have the Map
With a clear map in hand, the next decisions become straightforward.
If the dead zones are minor and clustered near the edge of the house, try moving the existing router first. Even a few feet toward the center of the home or higher off the floor can make a noticeable difference.
If one or two specific rooms remain weak after a placement change, consider a single additional access point or a powerline adapter with WiFi. These are cheaper and simpler than a full mesh.
Only when multiple floors or large areas show consistent weakness does a mesh system become the practical choice. Even then, start with the smallest kit that covers your mapped needs and expand later if required.
The map also helps with future purchases. When a new smart device or work-from-home setup appears, you already know which parts of the house can support it and which cannot.
A Realistic Evening Plan
Here is how most families can complete the process in one evening:
6:30 – Sketch the floor plans and install a WiFi analyzer app on two devices.
6:45 – Take baseline readings next to the router.
7:00 – Walk the main floor, recording results.
7:25 – Walk the second floor and any regularly used outdoor spots.
7:50 – Review the notes together and mark the clear dead zones.
8:00 – Decide on the smallest next step: move the router, add one access point, or gather more data another day.
That single evening of measurement almost always prevents an impulsive and expensive purchase. It also gives everyone in the house a shared understanding of where the network actually works.
Finding the dead zones first is the difference between solving a real problem and collecting more devices that need management. The process is simple, free, and repeatable. Once you have the map, every later decision about routers, mesh, or access points becomes clearer and more confident.
Stability First.