
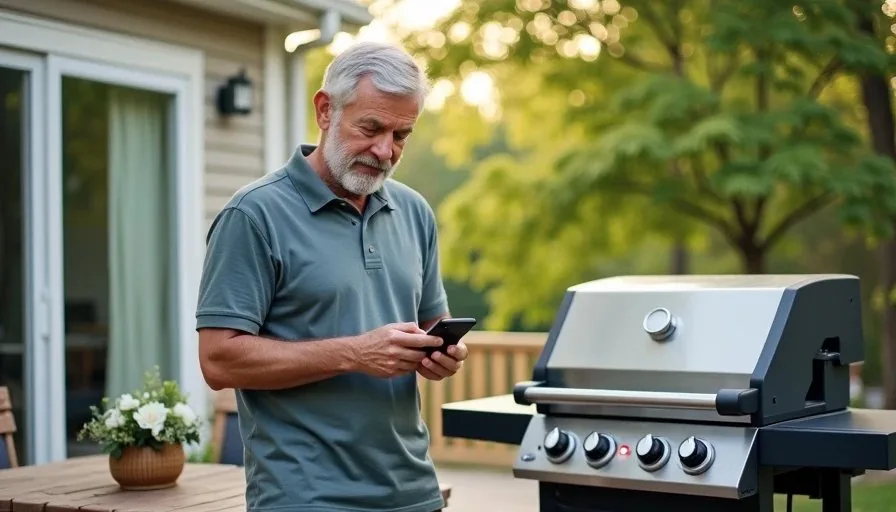
Summer changes how a family uses the house. The patio table becomes an extra dining room. Kids carry tablets outside. Adults take work calls from a chair in the shade. Guests expect the same internet they have indoors. If the backyard signal is marginal in April, it will feel unreliable once the grill is lit and half a dozen devices are active at once.
I run a simple backyard Wi-Fi test every spring before the heavy outdoor season starts. The process takes about an hour, costs nothing, and tells me whether the current setup will handle real use or whether a small adjustment is needed. The goal is not perfect outdoor coverage across the entire property. The goal is reliable performance in the places the family actually sits, cooks, and gathers.
This post walks through the exact test I use, the patterns that usually appear, and the practical fixes that improve outdoor reliability without turning the yard into a network project.
Why Outdoor Coverage Deserves Its Own Check
Indoor and outdoor Wi-Fi behave differently. Walls that block signal indoors also limit how far the signal travels outside. Glass doors, screens, and exterior materials further reduce strength. Distance increases quickly once you step off the patio. A router that serves the living room well can leave the far end of the deck or the kids’ play area struggling.
Summer adds load. More devices move outside at the same time. Video calls, music streaming, and photo uploads compete for the same weakened signal. What feels acceptable for one person checking email often fails when several people are online during a gathering.
Testing before the season starts gives you time to fix problems while the weather is still mild and the schedule is lighter.

What You Need for the Test
The tools are the same ones used for indoor dead-zone mapping:
Two smartphones or tablets
A free Wi-Fi analyzer app
A notebook or notes app
The devices the family actually uses outside (laptops, tablets, phones)
About sixty minutes on a day when the weather is decent
Optional but useful: a simple speed-test app and a long extension cord if you want to test a temporary access point later.
Step-by-Step Backyard Test
1. Establish an indoor baseline
Stand just inside the door that leads to the patio or deck. Record signal strength and a quick speed test. This gives you a reference for how much the signal drops the moment you step outside.
2. Map the primary outdoor zones
Walk the spaces the family actually uses:
Main patio or deck table
Grill area
Shade seating or outdoor sofa
Kids’ play zone if tablets go there
Any secondary seating farther from the house
At each spot, record signal strength, whether a short video streams smoothly, and whether a video call holds without freezing. Note the time of day and whether leaves are already on the trees—foliage can affect results later in the season.
3. Test with real devices under light load
Have one person start a video call or stream while another walks the same spots with a second device. This reveals how the network behaves when more than one outdoor connection is active.
4. Repeat near the edge of usable range
Keep walking until the signal becomes unusable. Mark that boundary. You do not need coverage across the entire yard; you need to know where reliable use ends.
5. Check after dark if possible
Evening gatherings are common. A quick retest after sunset shows whether the same spots still work when indoor lighting and other networks may be more active.
Common Patterns and What They Mean
Most backyard tests produce one of three results.
Strong near the house, rapid drop farther out
The router or nearest access point is doing its job, but distance and exterior materials are limiting range. A node or access point closer to the exterior wall, or a dedicated outdoor-rated unit, usually helps.
Usable on the patio but unreliable under load
Signal strength looks acceptable until two or three devices become active. This often points to wireless backhaul limits or channel congestion rather than pure distance. Wired backhaul to a node near the outdoor space improves consistency.
Inconsistent even close to the house
Interference, a poorly placed indoor router, or an exterior wall that blocks signal more than expected may be the cause. Re-checking indoor placement first is often the fastest fix.

Practical Fixes That Usually Work
After the test, choose the smallest change that solves the actual problem.
Improve indoor placement first
Sometimes simply moving the existing router or indoor node closer to the exterior wall that faces the patio yields a noticeable outdoor gain. This costs nothing and should be tried before buying anything.
Add a node or access point near the outdoor zone
A mesh node or wired access point placed in a room adjacent to the patio often extends usable coverage across the primary gathering area. Prioritize wired backhaul if an Ethernet run is practical.
Consider a dedicated outdoor access point
For households that regularly use space farther from the house, a weather-rated outdoor access point mounted under an eave or on a covered wall provides more consistent results than relying solely on indoor units. Installation is more involved, so reserve this for cases where the simpler options fall short.
Adjust expectations for the far yard
Deep backyard areas or detached structures may never have strong coverage from the main house system. In those cases a separate solution (point-to-point link or a secondary network) is more realistic than forcing the primary system to stretch.
Avoid the temptation to over-cover. Reliable service at the table and grill is worth more than marginal signal at the property line.
How We Handle It in Our House
Our patio sits just outside the kitchen. The main gathering zone is within twenty-five feet of the house. After several seasons of testing we settled on a simple arrangement: the primary router sits in a central indoor location, and one node is placed in the room closest to the patio door. That combination keeps the table and grill area stable for calls, music, and kids’ devices.
Farther into the yard the signal drops, and we accept that. We do not try to stream video from the back fence. The test each spring confirms the primary zone still works and tells us whether foliage growth or a new neighbor’s network has changed anything.
The whole process takes less time than shopping for new equipment and prevents mid-summer surprises when guests are already arriving.
A Simple Spring Checklist
Run the outdoor signal walk on a mild weekend.
Note the spots that must work for normal family use.
Test those spots under light multi-device load.
Try a quick indoor placement adjustment if the results are marginal.
Add a node or access point only where the test shows a clear gap.
Re-check once after the leaves are fully out.
That sequence keeps outdoor Wi-Fi in the background where it belongs. The network supports the barbecue instead of becoming a topic of conversation during it.
Summer use is predictable. Testing before the season starts turns an unknown into a known, and most of the time the required fix is smaller than expected.
Stability First.